


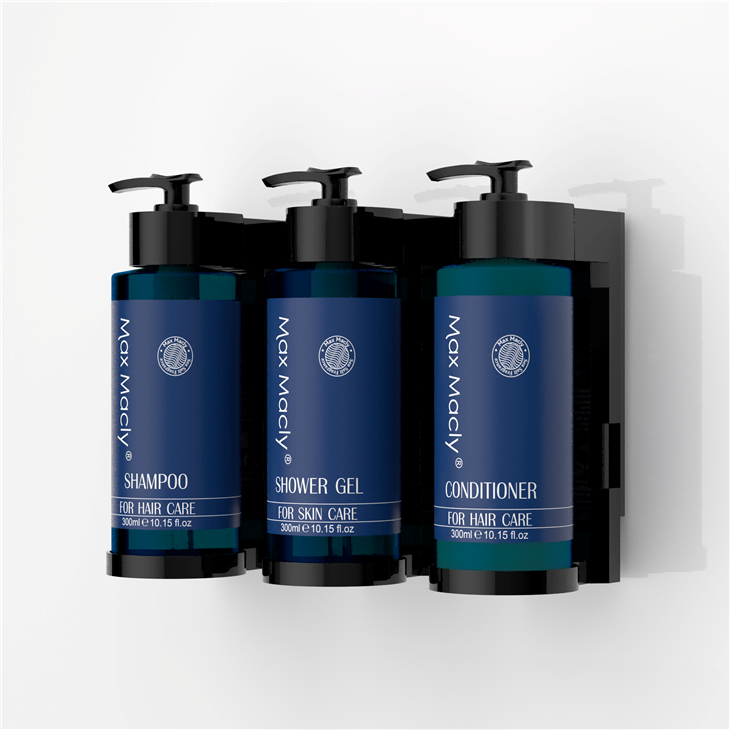
Cleaning the interior of a 3 soap dispenser wall mounted is a crucial maintenance task that ensures the dispenser functions optimally and provides a hygienic experience for users. As a supplier of 3 Soap Dispenser Wall Mounted, I understand the importance of proper cleaning and maintenance to keep these dispensers in top - notch condition. In this blog, I'll share some effective methods and tips on how to clean the interior of a 3 soap dispenser wall mounted.
Why Cleaning the Interior is Important
Before delving into the cleaning process, it's essential to understand why cleaning the interior of the dispenser is so important. Over time, soap residue, dirt, and bacteria can accumulate inside the dispenser. This not only affects the appearance of the dispenser but also impacts its functionality. A clogged dispenser may not dispense soap properly, leading to an inconsistent user experience. Moreover, the presence of bacteria can pose a health risk, especially in high - traffic areas such as hotels, restaurants, and public restrooms.
Tools and Materials Needed
To clean the interior of a 3 soap dispenser wall mounted, you'll need the following tools and materials:
- Warm, Soapy Water: A simple solution of warm water and mild dish soap is usually sufficient for most cleaning tasks.
- Soft - Bristled Brush: This is useful for scrubbing hard - to - reach areas inside the dispenser.
- Clean Cloths or Paper Towels: These are used for drying and wiping down the dispenser after cleaning.
- White Vinegar: In cases where there is stubborn soap scum or mineral deposits, white vinegar can be an effective natural cleaner.
- Safety Gloves: To protect your hands from soap and cleaning agents.
Step - by - Step Cleaning Process
Step 1: Turn Off and Empty the Dispenser
First, ensure that the dispenser is turned off if it has an electronic or battery - operated component. Then, empty the remaining soap from the dispenser. You can do this by pressing the dispenser pump until no more soap comes out or by removing the soap reservoir and pouring out the soap.
Step 2: Disassemble the Dispenser
Carefully disassemble the 3 soap dispenser wall mounted. This may involve removing the soap reservoirs, the pump mechanisms, and any other detachable parts. Refer to the product manual for specific instructions on how to disassemble your particular model.
Step 3: Soak the Parts
Fill a sink or a large container with warm, soapy water. Place the disassembled parts of the dispenser into the soapy water and let them soak for about 15 - 20 minutes. This will help loosen the soap residue and dirt.
Step 4: Scrub the Parts
After soaking, use a soft - bristled brush to scrub the parts gently. Pay special attention to areas with visible soap scum or dirt, such as the inside of the soap reservoirs and the pump nozzles. If there are stubborn deposits, you can use a small amount of white vinegar on the brush to help break them down.
Step 5: Rinse the Parts
Once you've scrubbed all the parts, rinse them thoroughly under running water to remove any soap or cleaning agent residue. Make sure that all the soap and dirt are completely washed away.
Step 6: Dry the Parts
Use clean cloths or paper towels to dry the parts completely. Ensure that there is no moisture left on the parts, as this can lead to the growth of mold and mildew.
Step 7: Reassemble the Dispenser
After the parts are dry, reassemble the 3 soap dispenser wall mounted. Follow the product manual to ensure that all the parts are correctly installed.
Step 8: Refill the Dispenser
Once the dispenser is reassembled, refill it with fresh soap. Make sure not to overfill the soap reservoirs.
Tips for Regular Maintenance
- Clean Regularly: Establish a regular cleaning schedule for your 3 soap dispenser wall mounted. Depending on the usage, cleaning once a month or every few weeks is usually recommended.
- Use High - Quality Soap: Using high - quality soap can reduce the amount of residue and buildup inside the dispenser.
- Inspect for Damage: Regularly inspect the dispenser for any signs of damage, such as cracks or leaks. Replace any damaged parts immediately to prevent further issues.
Related Products
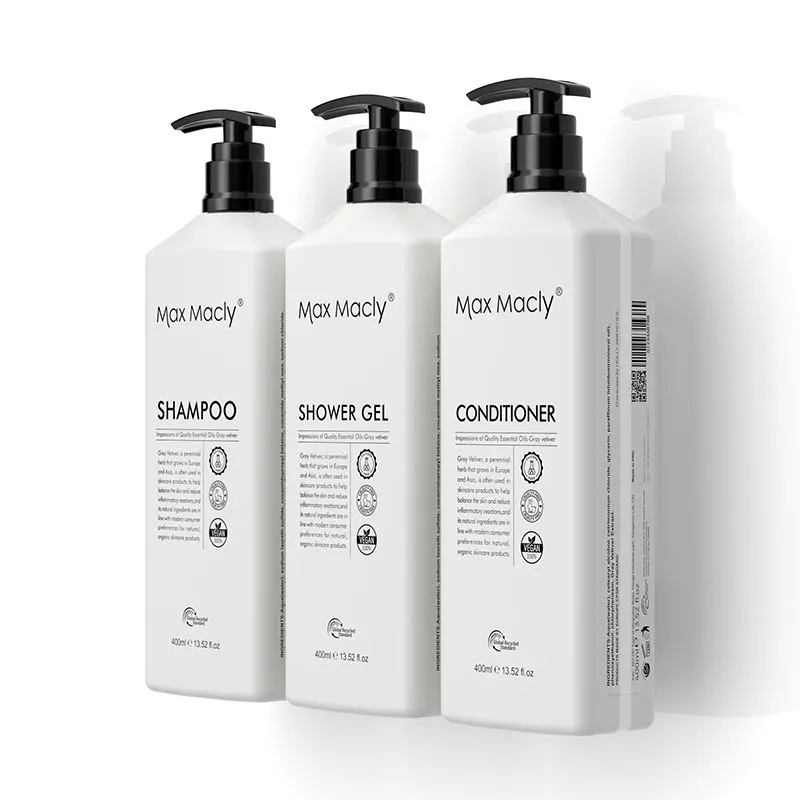
If you're interested in other types of soap dispensers, we also offer a variety of products such as Hotel Shampoo Wall Dispenser, Hotel Soap And Shampoo Dispensers, and Wall Shampoo. These products are designed to meet the needs of different customers, from hotels to residential users.
Contact for Purchase and Consultation
If you're in the market for 3 Soap Dispenser Wall Mounted or have any questions about cleaning and maintenance, feel free to contact us. We're here to provide you with the best products and services. Whether you're a hotel manager looking to upgrade your restroom amenities or a homeowner seeking a convenient soap dispenser solution, we can offer you the right products at competitive prices.
References
- "Maintenance Guide for Soap Dispensers", Industry Standard Publications
- "Best Practices for Cleaning and Sanitizing Restroom Fixtures", Hygiene Research Institute


